How do i create a Logo Slider Wall in Flatsome Theme
In this Flatsome Theme Tutorial, you will learn how to create a Logo Slider Wall.
Just follow the steps below and create a unique Logo Slider Wall in Flatsome Theme.
We will follow the steps below:
1.Create a new UX block and give it a name
2.Copy the Shortcode and insert the code
3.Change the Slider Logos
4.Paste the CSS Code in your Flatsome Theme
5.Paste the block element in the desired place on your page
6.Set the Style to the Container
1. Create a new UX block
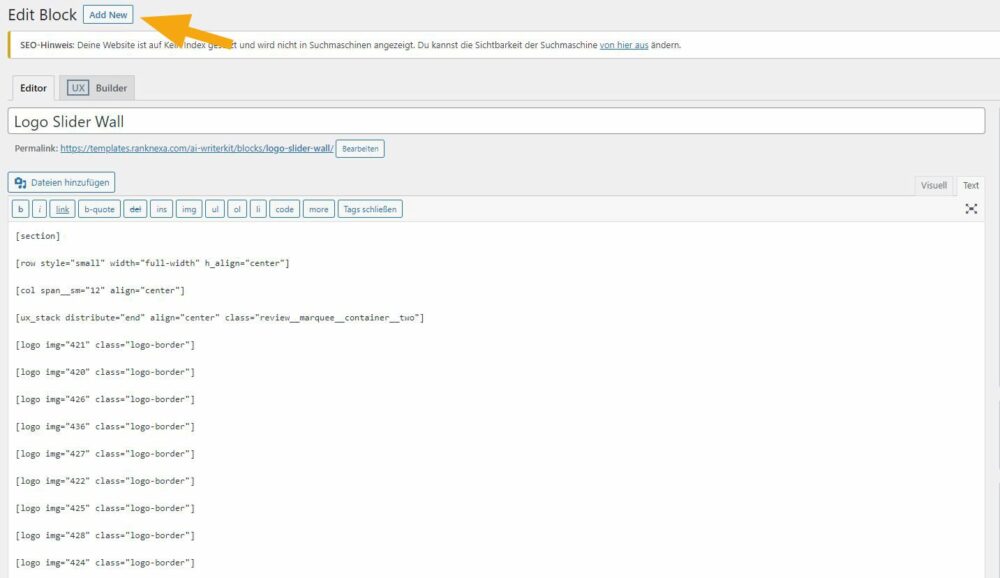
First you need to create a new UX block and name it “Logo Wall Slider” or a similar name you like.
2. Paste in the Shortcode
Copy the Shortcode you will find under this picture and paste it into the empty Text field in the Flatsome UX Block. Then click the Apply button. Important: You have to paste the Code only in the “TEXT” field, not in the “Visuell” Tab field!
UX Block Shortcode
You must be logged in to view this content.
3.Change the Slider Logos
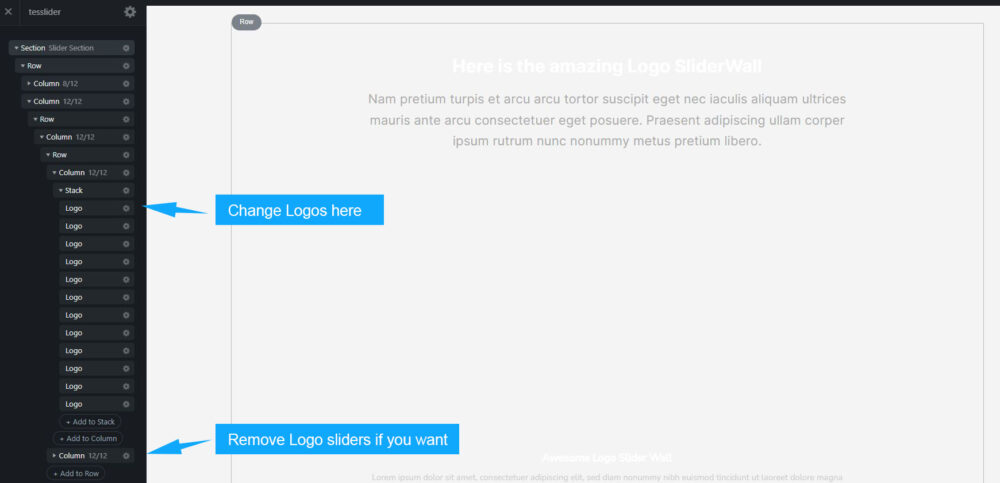
We now have to change the Logos to your desired ones. After you saved your new UX Block, klick the “UX Builder” Tab to open the UX Builder to customize the Block. You will now maybe see a white Background and Logos or anything. This happens because we first have to change the Logo Placeholders. Search for the “Slack” Elements- there you will find the Logo Elements, too. Open any Logo Option and change it to your desired Logos.
You can also remove Logo Lines if you want.
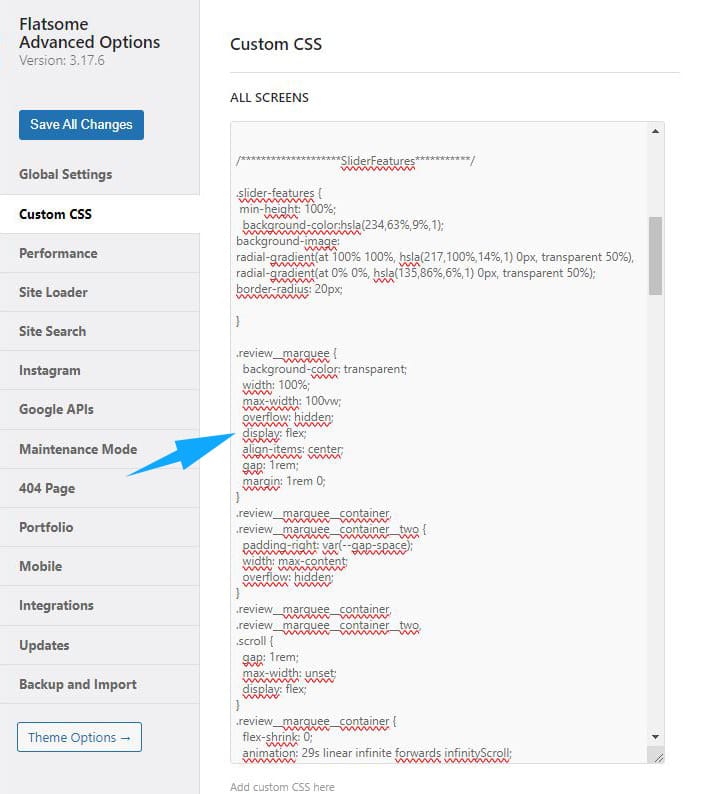
4.Paste the CSS Code in your Flatsome Theme
Now we need to add our CSS style to the Logo Slider Wall. For this you have to copy the CSS Code wich you will find under this picture and paste it under Flatsome>Custom CSS.
CSS Code
You must be logged in to view this content.
5. Paste the block element in the desired place on your page
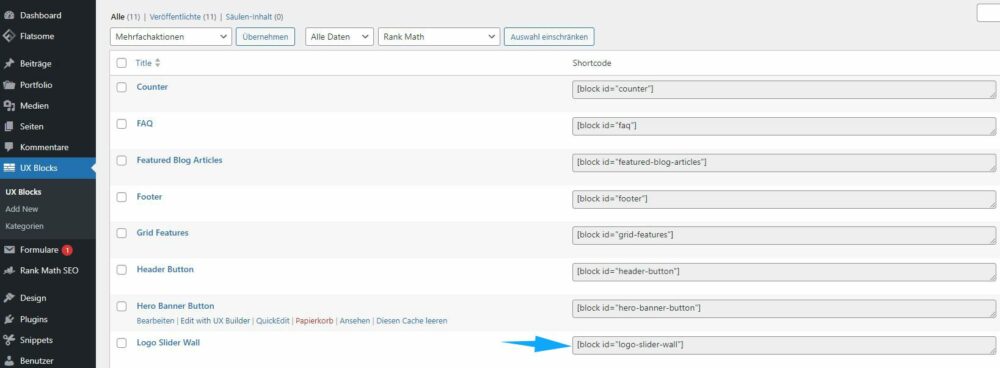
Now copy the new shortcode and paste it anywhere on your page to display the created button.
6. Set the Style to the Container
If you want to make the Logo Slider the same as in the example, you now have to style the Container wich is around the Slider Wall.
Note: This step is optional. You can change the color of the container in the CSS Code or let the Slider Wall without this Container.
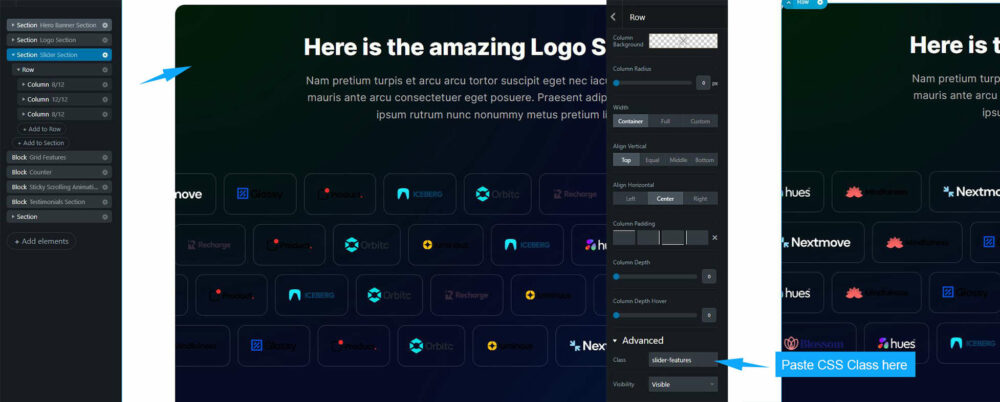
6. Customize the Slider Wall
In the last step, we now have to paste the CSS to the Slider Container itself. This step is NOT optional. This CSS sets the wall to the right width in the centered parent container.
