Parent Page in WordPress: A Guide to Its Purpose and Setup
WordPress has two pre-set types of posts: “posts” and “pages”. Unlike posts and other custom post types, pages in WordPress can have a hierarchical structure. This means users can create parent pages and child pages, organizing their website’s content in a hierarchical manner.
Creating a hierarchy of pages can be especially advantageous for WordPress websites that contain a significant amount of static information. It helps visitors navigate the site more easily.
In this article, we will explain the steps to create a parent page in WordPress and demonstrate three different methods for displaying a list of child pages. Additionally, you will learn how to manage the relationship between parent and child pages.
A parent page in WordPress is a top-level page in the site’s structure. The pages that fall under it are known as child pages.
Differences between a Parent Page and a Child Page.
To create a hierarchical structure, you need to establish a parent-child relationship between individual pages. In this setup, parent pages have a higher rank than child pages, meaning that child pages cannot exist independently.
Let’s take Hostinger Tutorials as an example. In the main menu, you’ll find eight categories, such as WordPress, VPS, and Video Tutorials. These are all considered child pages under the parent page /tutorials/.
Another way to distinguish child pages from parent pages is through their URL. By default, child pages inherit their parent page’s slug in the URL.
For example, the URL of the parent page for Hostinger Tutorials is /tutorials/, while the URL for the WordPress child page is /tutorials/wordpress.
Setting Parent and Child Pages in WordPress
To set up a hierarchical page structure in WordPress, follow these steps:
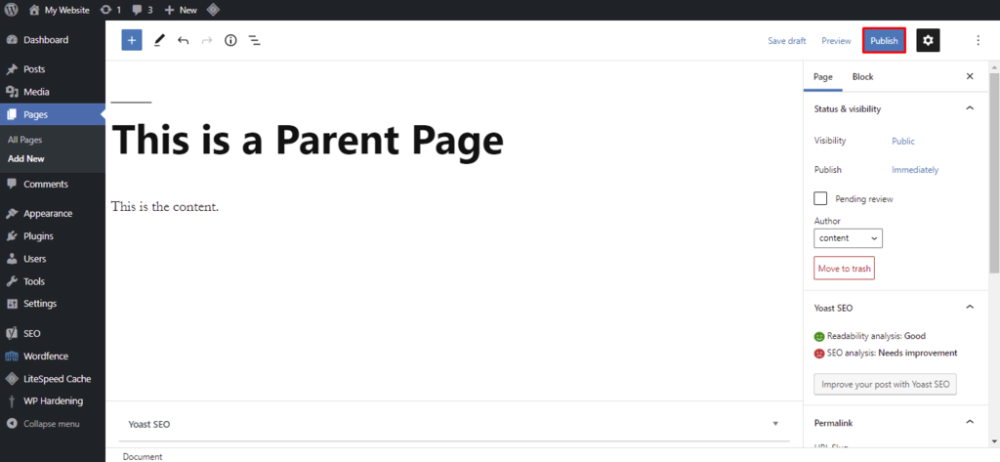
1. Go to your WordPress dashboard and click on “Pages” → “Add New.”
2. Write the title and content for your page.
3. Preview the page to see how it will appear, then click “Publish” when you’re ready.
4. Click “Publish” to complete the action.
To create multiple child pages, repeat these steps as needed. You can adjust their order by assigning a numeric value. Use the “Order” textbox located in the “Page Attributes” section.
How to show the list of child pages under a parent page.
Displaying a list of child pages on their parent page can greatly improve the organization. It helps visitors find information more quickly and easily, enhancing the user experience and site navigation.
You have three options to display your child page list: utilize a WordPress plugin, manually code it, or edit the page template.
To display a list of child pages, utilize a plugin.
This method is the easiest because it simplifies the configuration process. The top WordPress plugins offer shortcode parameters to add a list of child pages to a parent page and set the list style.
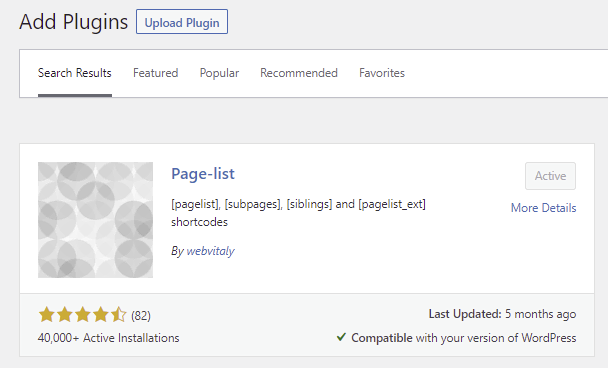
There are many plugins available in the WordPress directory. In this tutorial, we will use Page-list. First, install and activate the plugin.
On the plugin’s page, you will find a collection of shortcodes with parameters for list styling:
– [pagelist]: showcase the site’s sitemap.
– [subpages]: display the child pages of the current page.
– [siblings]: display the sibling pages of the current page, which are pages grouped under the same parent page.
– [pagelist_ext]: showcase the list of pages with their respective featured images and excerpts.
Here’s how to use the Page-list plugin to display a list of child pages in WordPress:
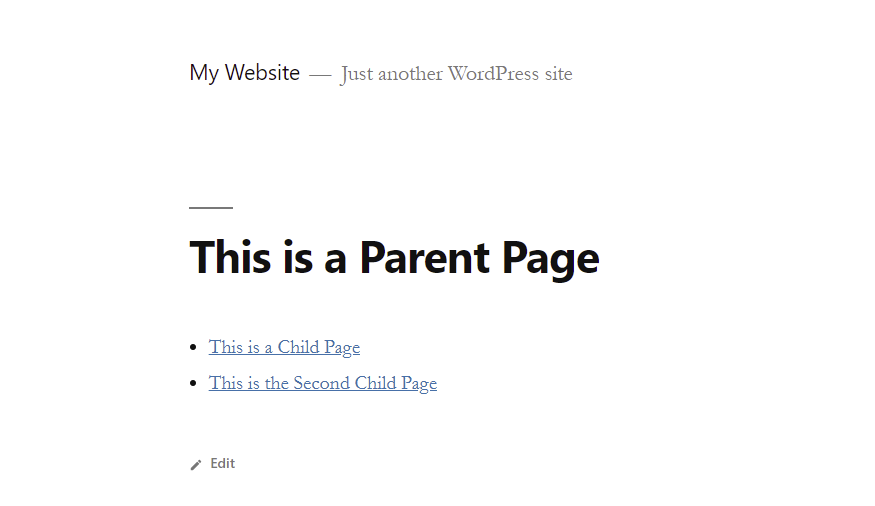
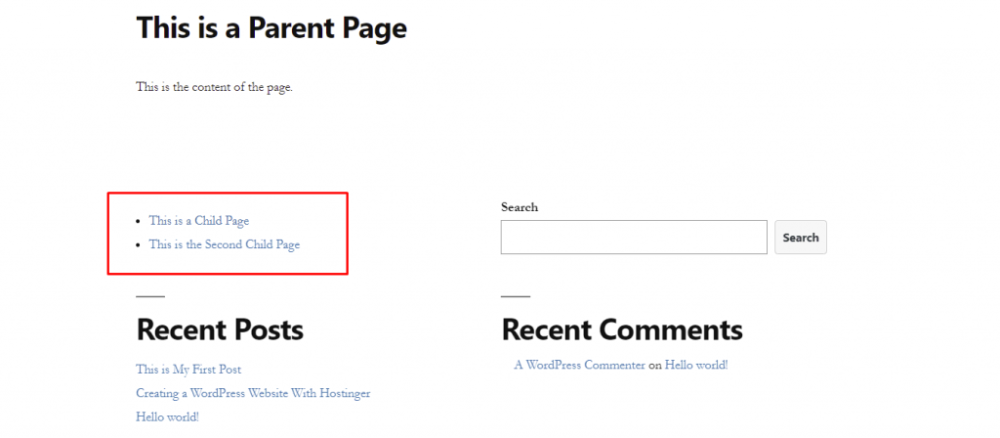
1. Insert the [subpages] shortcode anywhere within the desired parent page and click Update.
The following image shows an example of how the shortcode is used. You can also add a custom CSS class or combine the main shortcode with the available parameters to style the list.
To display a list of child pages, coding can be used.
Manual coding provides more flexibility for customizing the list, but it requires technical knowledge that may not be suitable for WordPress beginners and non-technical users.
To add the code, you need to access your theme’s functions.php file, which can be done through an FTP client or a File Manager.
If you are using our site hosting services, follow these steps to create a child page index using Hostinger File Manager:
- Go to hPanel and click on “Files” → “File Manager.”
- From the root directory (public_html), go to wp-content → themes.
- Open the folder of the currently active theme and locate the functions.php file.
- Double-click the file to open it, and add the following code at the bottom:
|
1 2 3 4 5 6 7 8 9 10 11 12 |
function wpb_list_child_pages() { global $post; if ( is_page() && $post->post_parent ) $childpages = wp_list_pages( 'sort_column=menu_order&title_li=&child_of=' . $post->post_parent . '&echo=0' ); else $childpages = wp_list_pages( 'sort_column=menu_order&title_li=&child_of=' . $post->ID . '&echo=0' ); if ( $childpages ) { $string = '<ul class="wpb_page_list">' . $childpages . '</ul>'; } return $string; } add_shortcode('wpb_childpages', 'wpb_list_child_pages'); |
6. From there, select Widgets. Add the [wpb_childpages] shortcode to the widget area. Alternatively, you can directly insert it on the parent pages.
Edit the Page Template to Display the List of Child Pages
Using shortcodes is suitable for a small number of pages. However, for a large-scale website, it is more effective to modify the page template file and automate the insertion process.
To achieve this, include the previously mentioned code in the functions.php file. Next, insert the provided code snippet into the page.php file of your currently active theme.
|
1 |
<?php wpb_list_child_pages(); ?> |
That’s it! The theme will automatically detect child pages and show them on the website.
